
Tired of streaks and grime clouding your view? Achieving sparkling clean windows doesn’t always require expensive store-bought cleaners. You can easily whip up incredibly effective DIY window cleaning solutions right in your kitchen using common, inexpensive ingredients like vinegar and water. These homemade options save you money, reduce exposure to harsh chemicals, and give you control over what you use in your home, delivering fantastic, streak-free results with a little know-how. Don’t have the time or energy? Call us today for professional, streak-free window cleaning you can count on!
Why Choose DIY Window Cleaning?
Opting for homemade window cleaners offers several compelling advantages. Firstly, cost savings are significant; ingredients like white vinegar and water are far cheaper than commercial sprays. Secondly, you’re making an eco-friendly choice, reducing plastic waste and avoiding potentially harmful chemicals that can wash into the environment. Many commercial cleaners contain ammonia, solvents, and artificial fragrances that can irritate skin, eyes, and respiratory systems. By going DIY, you know exactly what’s in your cleaner, creating a non-toxic environment that’s safer for kids, pets, and allergy sufferers. It’s simple, effective, and puts you in control. Choosing a DIY cleaner over a commercial window washing service allows you to control the ingredients and avoid harsh chemicals.
Safety First: Precautions for DIY Window Cleaning
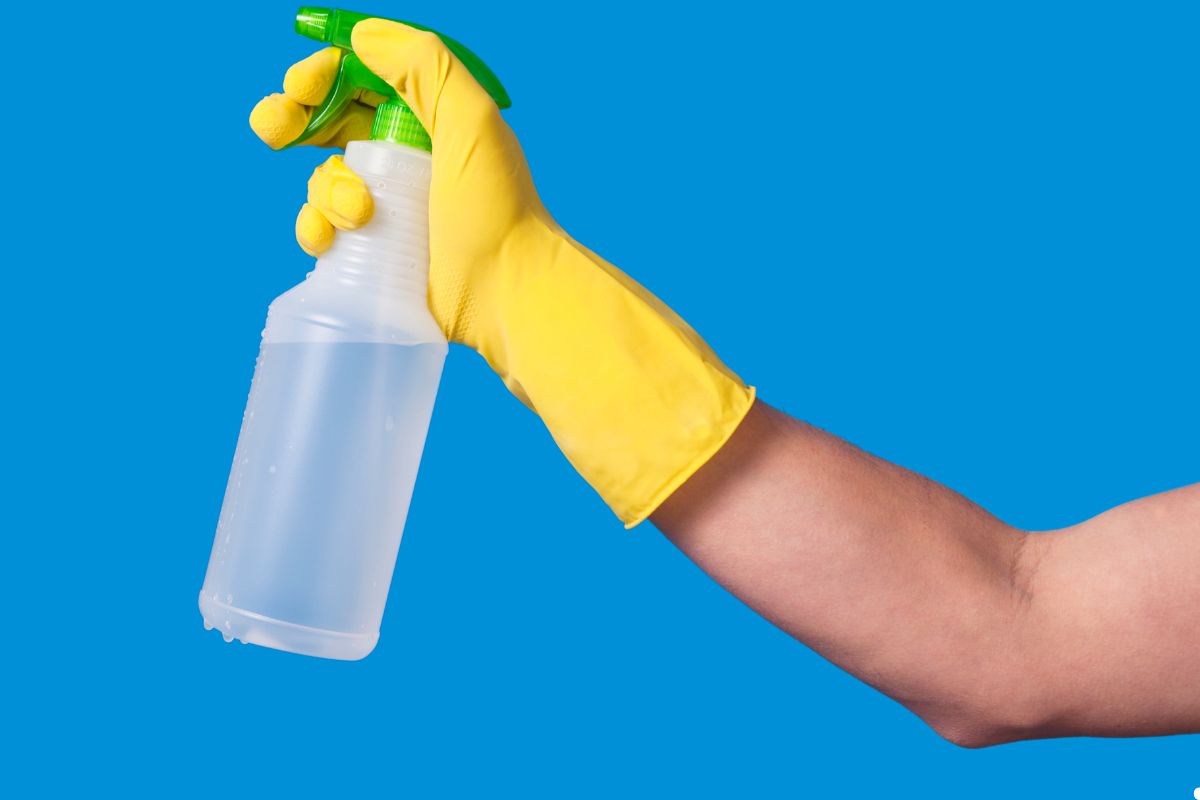
Before you start mixing and spraying, remember that even natural ingredients require safe handling. If cleaning exterior windows, ladder safety is paramount. Ensure your ladder is stable, on level ground, and never overreach. Always test your DIY solution on a small, inconspicuous area first, especially on tinted or specially coated windows, to ensure compatibility. Work in a well-ventilated area, particularly if using vinegar or alcohol, as the fumes can be strong. Wearing rubber gloves is also a good idea to protect your skin, especially during prolonged cleaning sessions. Following these basic DIY cleaning safety tips ensures a smooth and accident-free process.
Simple & Effective DIY Window Cleaner Recipes
Ready to mix up your own powerful window wash? These simple recipes are tried, tested, and deliver excellent results without complicated ingredients. Start with these basic formulas and see which works best for your needs.
The Classic: Vinegar and Water Solution
This is the cornerstone of homemade window cleaner recipes. It’s incredibly simple and surprisingly effective thanks to vinegar’s acetic acid, which cuts through grease and grime.
- Recipe: Mix equal parts white vinegar and distilled water (using distilled water helps prevent mineral streaks from hard tap water) in a clean spray bottle.
- How to Use: Shake well before each use. Spray directly onto the window glass.
- Pros: Extremely cheap, readily available ingredients, effective on general dirt and water spots.
- Cons: The vinegar smell can be strong, although it dissipates quickly as it dries.
This vinegar window cleaner recipe is a fantastic starting point for most window cleaning tasks.
Adding Dish Soap for Extra Grime-Cutting Power
For windows battling greasy fingerprints, kitchen splatter, or heavier buildup, adding a tiny bit of liquid dish soap can boost your cleaner’s power. Choose a basic dish soap like Dawn, avoiding those with moisturizers or antibacterial agents.
- Recipe: To your vinegar and water mixture (e.g., 1 cup water, 1 cup vinegar), add no more than 1-2 drops of liquid dish soap.
- Why it Works: Dish soap acts as a surfactant, helping to lift and suspend grease and stubborn dirt.
- Caution: Using too much soap is a primary cause of streaks! Less is definitely more here. A couple of drops in a standard spray bottle is usually sufficient. This creates an effective dish soap window cleaner for tougher jobs.
Incorporating Rubbing Alcohol for Faster Drying & Fewer Streaks
Adding isopropyl (rubbing) alcohol to your DIY mix offers a couple of key benefits, making it a popular addition for achieving that perfect streak-free solution.
- Recipe: Combine 1 cup distilled water, 1 cup white vinegar, and about 1/4 cup of 70% isopropyl alcohol in your spray bottle.
- Benefits: Alcohol evaporates quickly, significantly reducing drying time and thus minimizing the chance of streaks forming. It also helps the solution work better in cooler temperatures and adds some disinfecting properties. This rubbing alcohol window cleaner is excellent for achieving a crystal-clear finish, especially on glass surfaces prone to streaking.
Essential Tools for a Professional DIY Finish
Even the best DIY window wash solutions need the right tools to deliver truly professional results. Investing in a few key items makes the job easier and far more effective. You don’t need much, but quality counts.
Choosing Your Weapon: Squeegees and Cloths
Forget paper towels – they leave lint behind! The two most crucial tools are a good squeegee and microfiber cloths.
- Squeegee: Invest in a quality squeegee with a sharp, pliable rubber blade. Cheap ones tend to be stiff and leave streaks. Ensure it’s the right size for your windows.
- Microfiber Cloths: These are essential. Use one cloth (or a dedicated scrubber) slightly dampened with your cleaning solution to wash the window first, loosening dirt. Use separate, clean, dry microfiber towels for glass to wipe your squeegee blade between passes and to detail the edges and corners where the squeegee might miss. Their absorbency and lint-free nature are key for a streak-free window cleaning finish.
The Right Technique: Step-by-Step to Streak-Free Windows
Having the right solution and tools is half the battle; technique is the other half. Follow these steps for optimal results:
- Prep: Before spraying the glass, wipe down the window frames and sills to remove loose dust and cobwebs. This prevents dirt from smearing onto the clean glass.
- Wash: Lightly spray your chosen DIY solution onto the window. Don’t drench it. Use your damp washing cloth or scrubber to gently scrub the entire glass surface, paying extra attention to corners and edges.
- Squeegee: This is the critical step. Start at the top corner. Angle the squeegee slightly and pull it down smoothly and firmly. Overlap each stroke by about an inch. Wipe the squeegee blade clean with a dry microfiber cloth after every single stroke. This squeegee method is key to avoiding streaks.
- Detail: Use a clean, dry microfiber cloth to wipe away any remaining water drips along the edges of the windowpane and the sill.
Mastering this window cleaning technique takes a little practice but yields vastly superior results.
Common DIY Window Cleaning Mistakes to Avoid
Even with the best intentions, some common pitfalls can lead to frustrating results. Be mindful to avoid these window cleaning mistakes:
- Cleaning in Direct Sunlight or Heat: The solution dries too quickly on hot glass, leaving residue and streaks. Clean on cloudy days or when windows are in the shade.
- Using Too Much Soap: As mentioned, excess soap is a major cause of streaks and filmy residue. Stick to just 1-2 drops if using dish soap.
- Using Dirty Tools: A dirty squeegee blade or gritty cloth will just spread dirt around. Rinse your washing cloth frequently and always wipe your squeegee blade clean.
- Using Paper Towels: They disintegrate and leave lint everywhere. Stick to microfiber.
- Using Abrasives: Never use scouring pads or abrasive cleaners on glass, as they can cause permanent scratches. If you’re wondering why are my windows streaky, one of these mistakes is often the culprit.
When DIY Isn’t the Best Option: Knowing When to Call a Pro
While DIY cleaning is great for routine maintenance, there are times when calling professionals is the smarter, safer, and more effective choice. Consider hiring experts if:
- Windows are Very High or Hard to Reach: Safety is paramount. Professionals have the training and equipment (ladders, safety harnesses, water-fed poles) to clean high windows safely.
- You Have Stubborn Stains: Issues like hard water stain removal windows, paint overspray, or artillery fungus require specialized techniques and solutions that DIY methods often can’t tackle.
- Lack of Time or Physical Ability: Window cleaning, especially on a whole house, can be time-consuming and physically demanding.
- Post-Construction Cleaning: Removing construction debris like sticker residue, silicone, or mortar requires careful, expert handling to avoid scratching the glass.
In these cases, the efficiency and results of professional window cleaning vs DIY often make it a worthwhile investment.
Frequently Asked Questions (FAQs) About DIY Window Cleaning
Here are answers to some common questions about making and using homemade window cleaners:
Can I use regular tap water for my DIY solution?
You can, but if you live in an area with hard water (water with high mineral content), those minerals can be left behind as the water evaporates, causing spots or streaks. For the absolute best, streak-free results, using distilled water is recommended as it contains no minerals. Say goodbye to streaks and spots caused by hard water! For the best results and expert advice, contact us today.
How often should I clean my windows using these DIY methods?
A general guideline for homeowners in the USA is twice a year – typically in the spring and fall. However, your ideal window cleaning schedule might vary. Factors like living near a busy road, coastal areas (salt spray), frequent pollen seasons, or simply personal preference might mean cleaning more often (quarterly or even monthly for high-traffic areas like glass doors).
Are these homemade solutions safe for tinted windows?
Exercise caution with homemade cleaner tinted windows. While vinegar/water is generally considered safer than ammonia-based cleaners (which should never be used on tint), some window tint manufacturers advise against using vinegar as it could potentially affect certain types of film over time. The safest DIY approach for tinted windows is often just distilled water with a tiny drop of pH-neutral soap (like baby shampoo or specific car wash soap) or simply using plain water and a microfiber cloth. Always check your tint manufacturer’s cleaning recommendations first, or err on the side of caution and use a product specifically labelled as safe for tinted film.
Enjoy Your Sparkling Clean View!
With these simple recipes, tools, and techniques, you’re well-equipped to tackle window cleaning yourself. Enjoy the satisfaction of achieving sparkling, clean windows DIY style, saving money, and using gentler ingredients in your home. Take pride in your clear view and the effort you put in! And if you’d rather leave it to the pros, give us a call—we’re here to help your windows shine!